LCD screen replacement

by FARKISERVIS
CategoryComputer (LCD screen)
TypeReplacement
DifficultyModerate
Duration 30 mins
Repairers 1
Tools Phillips PH1 screwdriver
Plastic spudger
Overview
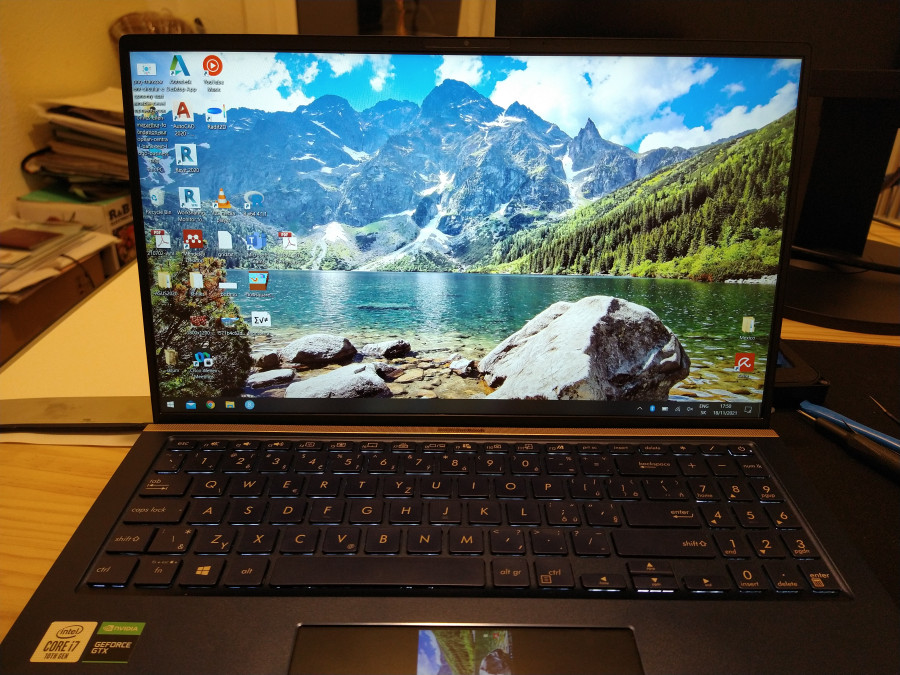
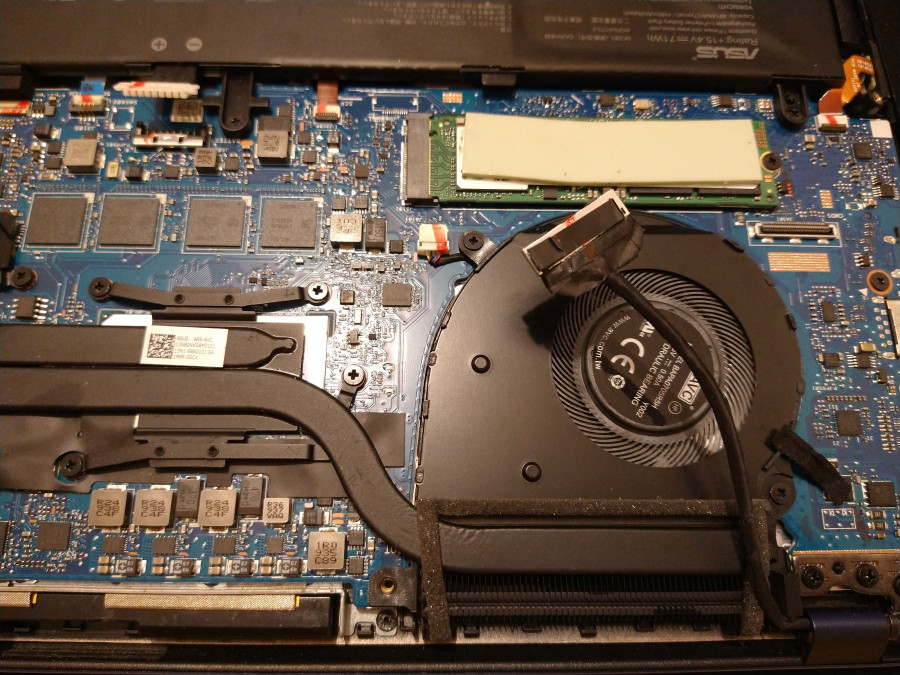
The laptop screen got broken as the laptop felt down. It was not a visible break, but it was impossible to use. So, a new screen was to come! The main issues was determining the type of the screen actually needed for my laptop type. It was necessary to open the laptop to see where the cable is connected, and so determine the type. Many thanks to the repairers from Restarters Barcelona, who helped with this.
Related products
Repair steps
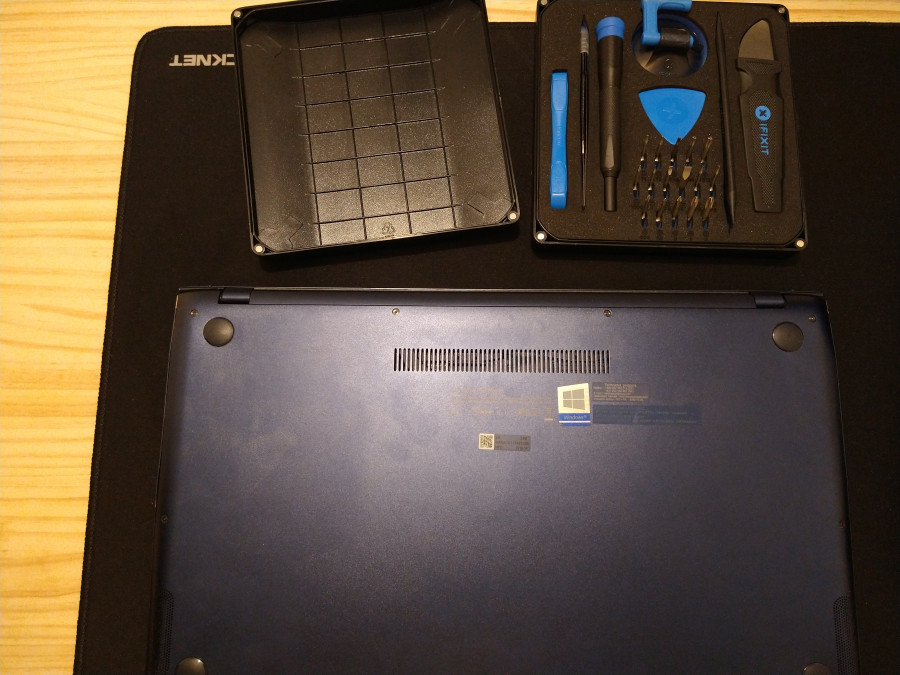
1. Removal of the back lid
Turn the laptop upside down and unscrew the screws using the Phillips #1 screwdriver.
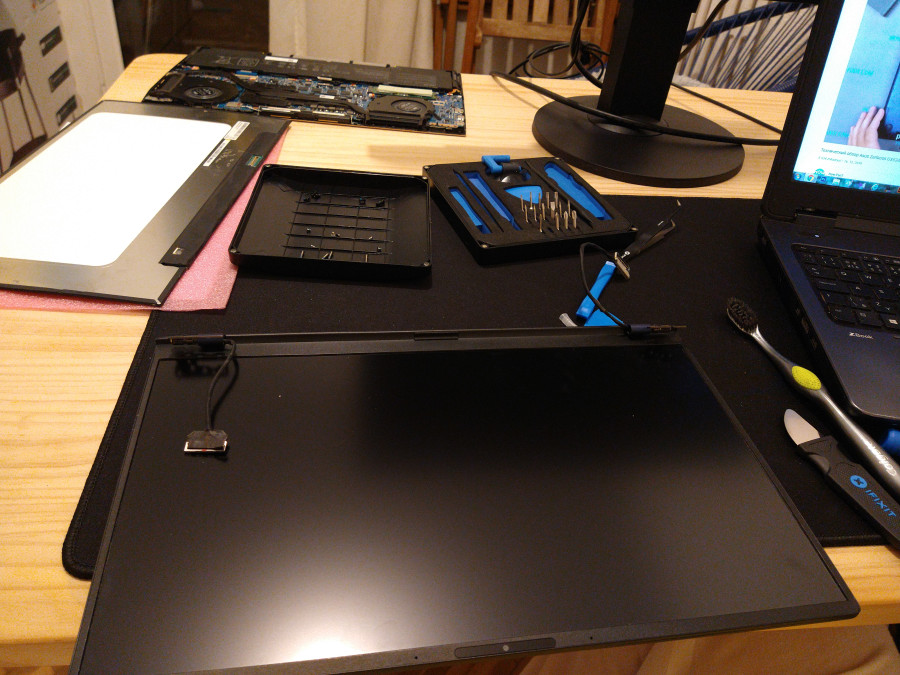
2. Disconnect the old screen cable
Use the plastic bar to gently disconnect the cable connector from the mother board.

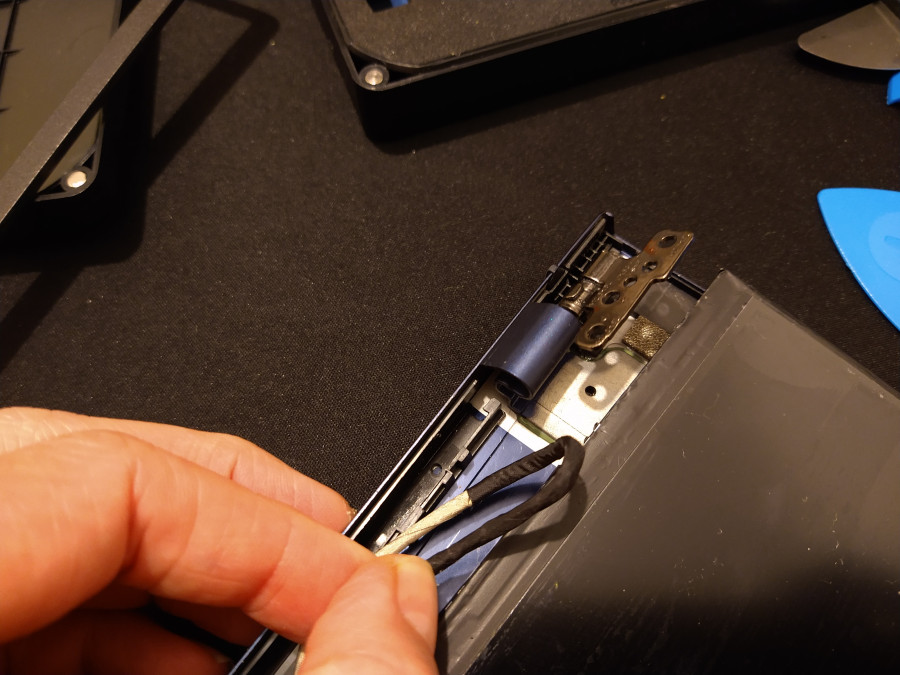
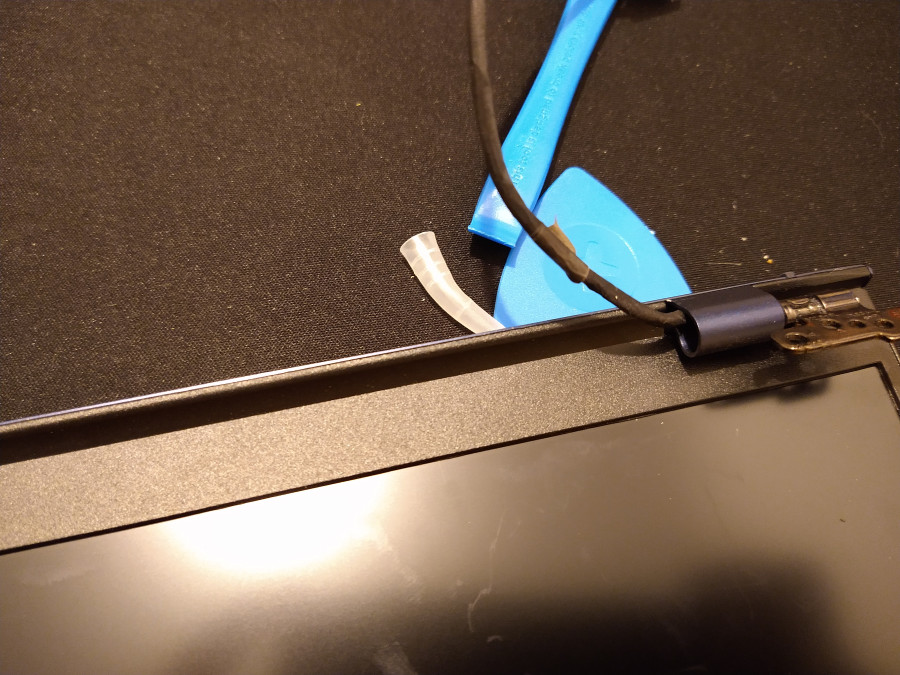
3. Remove the cables
Remove the cable from all the locations where it is still attached to the base.

4. Remove the hinges.
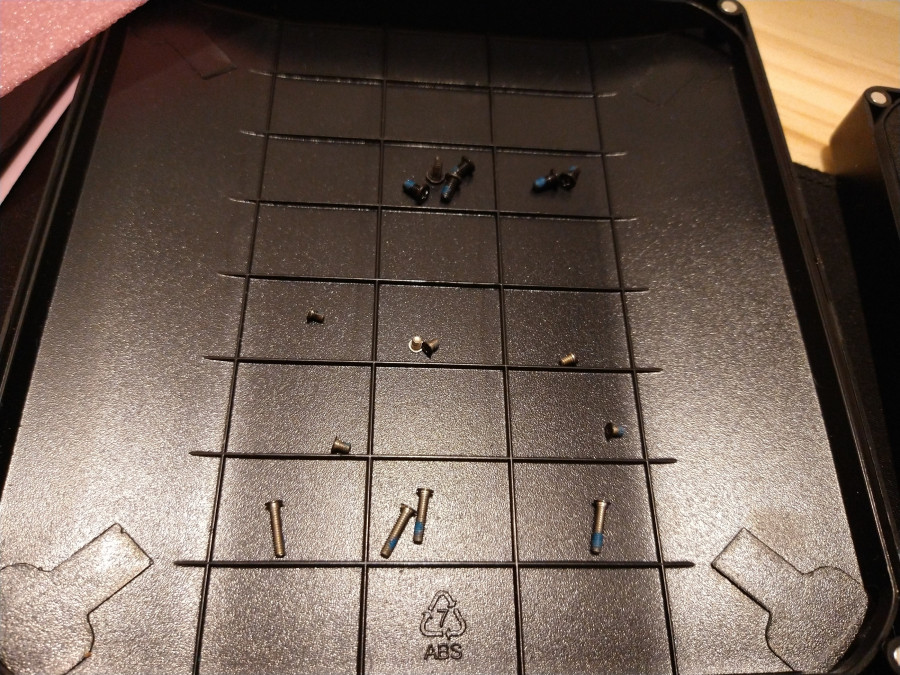
Use the Phillips #1 screwdriver to remove the screws at the hinges. Put the screws aside, so they do not get mixed with the previous screws.
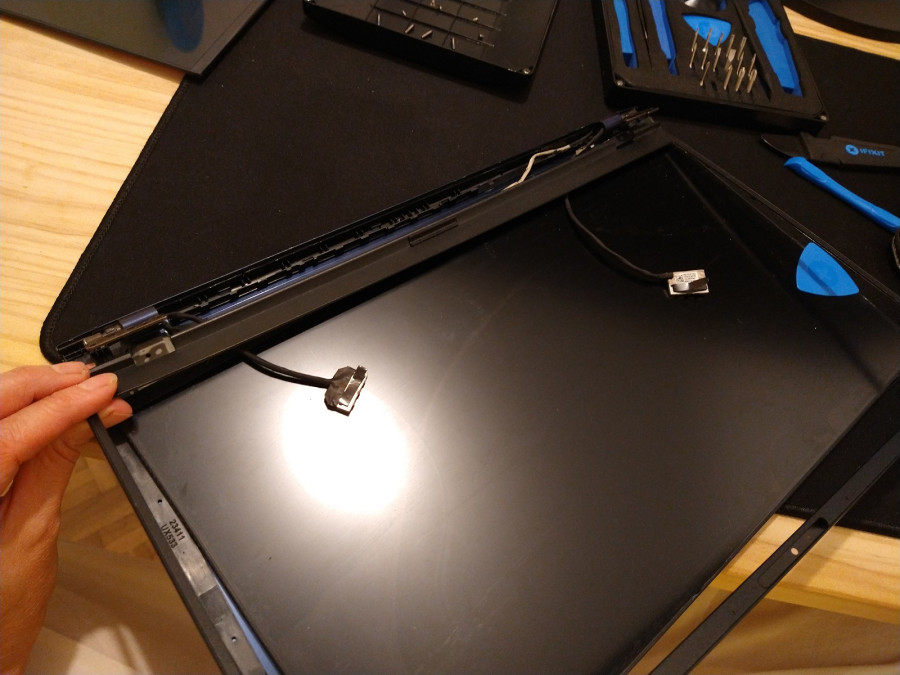
5. Disconnect the frame
Gently separate the old screen and the black frame that is holding it from the front side.
6. Fit the new screen
Fit the new laptop screen into the black frame first.
7. Connect the cables of the new screen
Pass the cables of the new screen through the orignal trayectory.
8. Fit the screws
Connect the hinges to the base of the computer. Make sure that all the cables are connected and guided as originally. Put the back lid back and screw the screws located at its perimeter.